Colour gets the attention, but size decides how a path feels underfoot, how it drains and how it looks three winters from now. Choose the wrong grade and you get a surface that rolls under your shoes or creeps into the flowerbeds. The three sizes most UK suppliers stock — 10mm, 20mm and 40mm — do genuinely different jobs. Here's how to choose between them.
Why the grade matters more than the colour
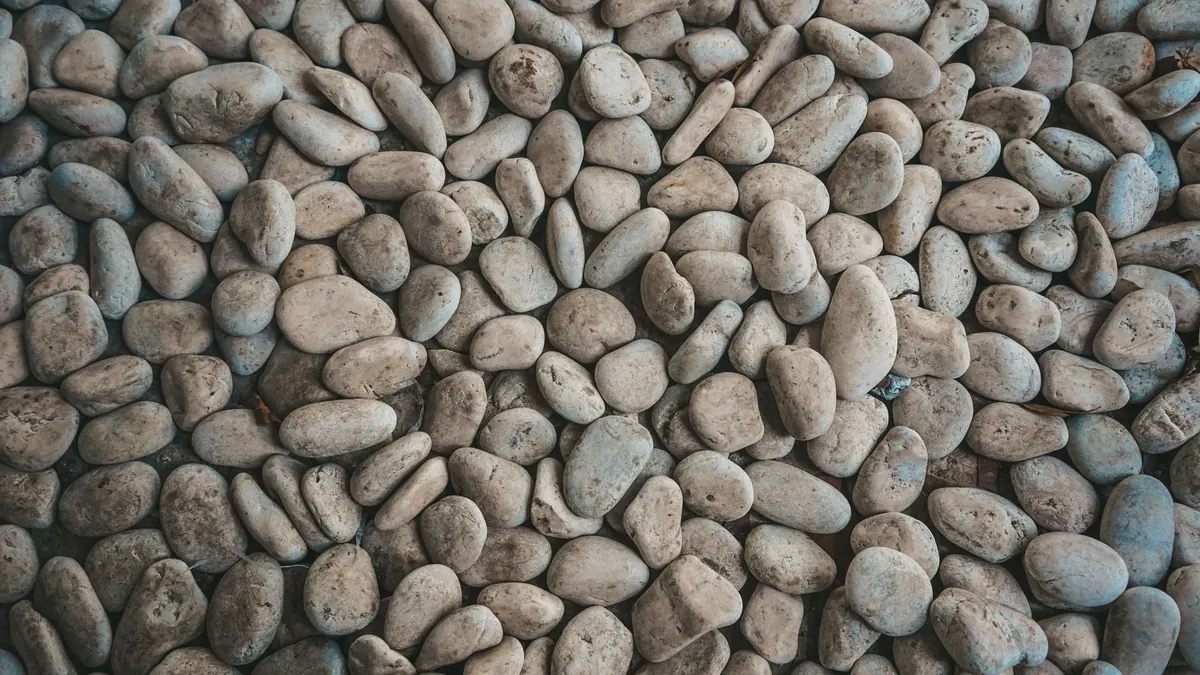
Pebbles and gravel are sold by nominal size, so a 20mm bag contains stones clustered around that figure rather than identical pieces. That single number tells you a lot about how the finished surface will behave.
Shape matters as much as size. Rounded pebbles roll against each other, so a deep layer behaves like very coarse ball bearings. Angular gravel — sold as crushed or sharp gravel — has flat faces that lock together into something closer to a firm crust. Both have their uses, but on a path taking daily traffic, shape is half the story.
Size then governs the gaps between stones. Bigger stones leave bigger voids, so water passes through faster and small flaws in the base are hidden, but the surface is lumpier and less stable underfoot.
The three sizes at a glance
- 10mm — Fine, smooth and tidy. Comfortable underfoot and easy to rake, but light enough to scatter and to travel indoors on shoes.
- 20mm — The standard choice for garden paths. Beds down into a stable, slightly crunchy surface that copes with barrows, bikes and family traffic.
- 40mm — Chunky and sculptural. Excellent as a border, around trees and along building edges, but awkward underfoot on a path.
Walkability: what your feet will notice
10mm
Laid at about 40mm over a firm base, it settles into a surface like firm sand with a light crunch — the kindest grade to bare feet and the least likely to twist an ankle. The trade-off is movement. Individual stones cling to shoe treads, travel indoors and scatter onto the lawn. Fine for a quiet front path, less so where children tear up and down.
20mm
This is the grade most garden designers reach for on paths. Once settled, 20mm beds into a stable, slightly crunchy surface that takes footsteps, wheelbarrows and the odd delivery trolley without turning into a shingle beach. It isn't quite barefoot-friendly, but it holds its line, rakes back easily and hides the stray leaf. If one bag has to do most jobs, this is it.
40mm
Chunky, striking and genuinely awkward underfoot when laid deep. Rounded 40mm stones roll beneath a shoe, so a path of nothing else feels like walking on large marbles, and a wheelie bin will sink and lurch. That makes it a border material rather than a path material: use it to frame planting, skirt tree pits, dress the base of a wall or create a coarse margin beside a finer path. Where it does run along a path, contain it tightly with edging and keep the layer shallow.
Drainage, depth and what sits underneath
Depth is where most paths go wrong. Loose pebbles are only the top layer of a small sandwich.
- Excavate 80–100mm, more if the ground is soft or the path will take vehicles.
- Compact a sub-base of MOT Type 1 or similar hardcore — roughly 50–75mm for a footpath, deeper where wheels cross.
- Roll out a woven weed-suppressing membrane over the sub-base. It slows weeds and stops pebbles sinking into soil.
- Spread the pebble to about 40mm for a footpath, 50–75mm where a barrow or car will pass. Deeper is not better; a thick layer is unstable.
- Edge it with timber, steel strip, block or stone kerb. Edging is what turns a heap of stones into a path.
All three grades drain freely; larger stones simply let water through faster. The fall does more for a building than the grade does, so aim for about 1 in 60 sloping away from the walls, with somewhere for water to go.
Appearance: how the number changes the look
10mm reads as a fine, smooth carpet — a path finished in it looks compact and modern, closer to resin-bound than to gravel. It also records everything: footprints, cat prints, the track where you always push the bin. Colour reads evenly from the kitchen window, and a small courtyard carries a lot of it without feeling cluttered.
20mm looks like the garden path in your head. There's enough stone to show texture from across the garden, which helps a path sit comfortably against planting, and enough irregularity to look natural rather than municipal.
40mm is bold and sculptural. In a small space it can overwhelm — a whole courtyard of it starts to feel like a rockery — but as a band along a border or around a large planter it adds weight and definition. It looks best in quantity; a thin scattering reads as a mistake.
Matching the size to the job
- Tidy front path, light traffic: 10mm for a fine, even finish, or 20mm if you want it to stay put.
- Busy family garden: 20mm, laid 40–50mm deep over a compacted base.
- Sloping path: 20mm angular gravel with a proper edge. Avoid 40mm, which rolls downhill.
- Shaded, damp corner: 20mm over membrane — the easiest grade to rake and top up.
- Borders, tree pits, wall bases: 40mm for a deliberate, chunky margin.
- Barefoot route to the lawn: 10mm, with some scatter and an annual top-up.
- Small courtyard: 10mm or 20mm, keeping 40mm for accents.
Ordering, edging and looking after it
Order everything at once so the batches match, since colour shifts between quarry runs. Bulk bag weights vary by supplier, and coverage varies by grade — larger stones leave more air between them, so a tonne usually goes slightly further. Ask for the coverage figure for the exact product, then add about 10 per cent for settlement and top-ups.
When it arrives, rake it level, water it lightly and let it settle rather than hammering it flat. Keep the layer shallow and even. Dips collect leaves, leaves rot into soil, and soil grows weeds. A spring rake and a top-up every year or two keeps any of the three grades looking sharp.
Choose the size for the way you use the path, then the colour to suit the house. A 20mm path in the wrong shade is a small disappointment. A 40mm path in the perfect shade is still a stumble waiting to happen.
Photo: Servetphotograph / Pixabay