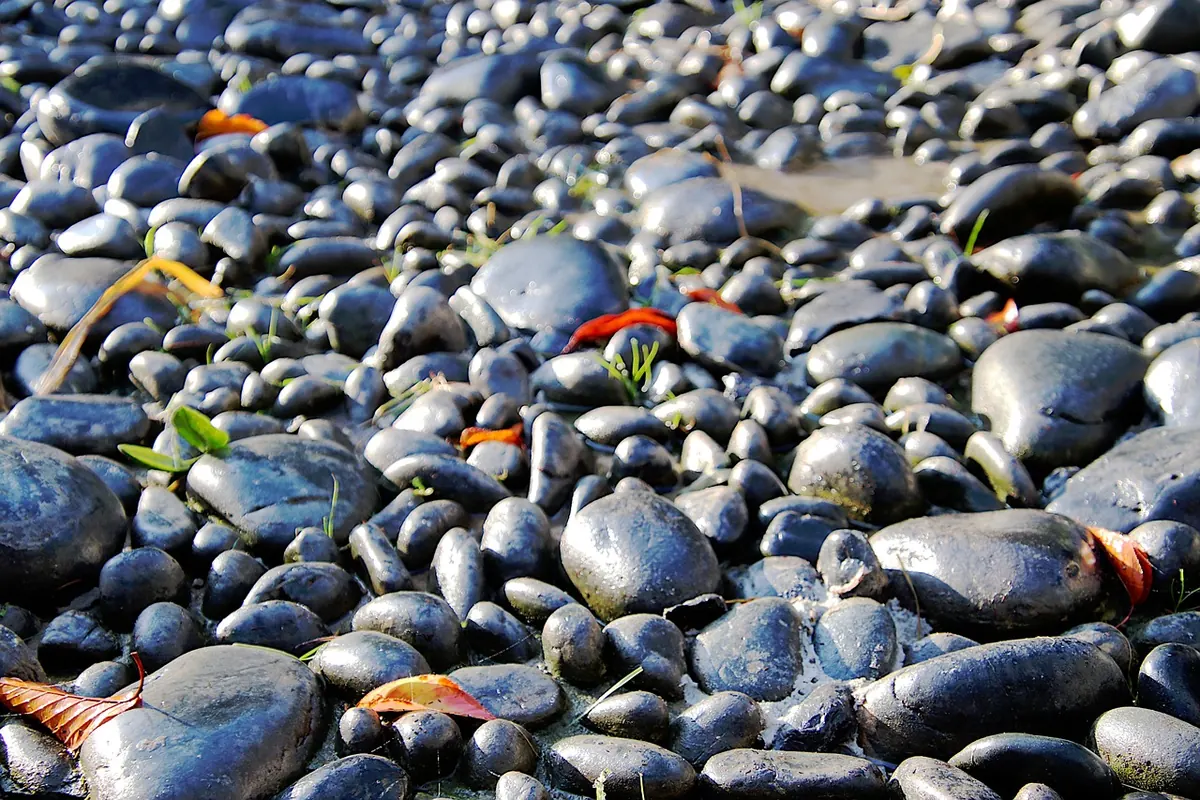
Nothing settles a garden like a curve of pebbles slipping between the borders. It is also one of the easiest paths to look after — provided you do the unseen work first. Tip pebbles straight onto bare soil and within a season they will have sunk, the edges will have crept outwards, and you will be weeding gravel instead of enjoying it. The good news is that the whole job is straightforward once you know the order of play.
Mark out the route and check what is buried
Lay a hosepipe or a length of string on the ground and shuffle the line about until the curve looks right from the kitchen window as well as from the patio. Then measure the width. For a path one person uses, 900mm is comfortable; 1.1 to 1.2 metres lets two people pass without stepping off. If the path meets a gate or a step, keep that end wider so the transition does not feel pinched.
Before you put a spade in the ground, think about what might be under it. Water pipes, electrical cables, irrigation lines and drainage runs are all easy to forget and expensive to hit. If you are unsure, check your plans or ask a reputable contractor before you dig near the house or a boundary.
Give the path a very gentle fall — roughly a 1:60 gradient, so about 15mm of drop per metre — away from buildings, sheds and walls, so rainwater runs off rather than pooling on the membrane.
Step 1: Clear the ground properly
Weed suppression starts here, not with the membrane. A membrane stops most weed seeds below it from germinating, but it cannot do much about deep-rooted perennials that are already growing through it, and it does nothing at all about the silty layer that blows in and collects on top.
Skim off any turf with a spade and stack it upside down in a corner to rot down into decent topsoil. Then dig the strip over to about 100mm deep and work through it with a fork, removing the roots of the usual suspects: bindweed, ground elder, couch grass, dock and dandelion. Take the time. Every root fragment left behind is a future tuft pushing up through your pebbles, and the larger tap roots can even lift the fabric.
Rake out stones bigger than about 25mm, break up clods and pull the soil to a smooth profile. You want a surface that is dull and even, not a seedbed.
A few tools make the difference here:
- A sharp spade and a digging fork
- A landscape rake for pulling levels
- A string line and line level, or a long straight board
- A tamper or a plate compactor
- Heavy gloves and a wheelbarrow
Step 2: Firm the soil and level it
Loose soil is the reason pebbles disappear. If the ground under the membrane is soft or uneven, the first heavy rain will settle it into hollows, and those hollows fill with grit, leaf litter and damp — exactly what wind-blown weeds need.
So firm the strip in stages. Tread it over methodically, then go back with a tamper or a plate compactor, working in overlapping passes. Check levels as you go with the straight board and a spirit level, and correct any dips with a little more soil before firming again. Aim for a surface that feels solid underfoot and gives only the tiniest amount when you press a heel into it.
On heavy clay, water will sit for longer. Fork some coarse grit or horticultural sand into the top 50mm to open it up, and consider a slight crown across the width of the path so it sheds water towards the edges rather than holding it in the middle.
Step 3: Fit the edging before the membrane
Edging is not decoration. It holds the pebbles where you put them, keeps the lawn from creeping into the gravel, gives you a crisp mowing line and stops the membrane edge fraying. Set it so the finished top sits flush with, or a whisker above, the pebble surface — around 10 to 20mm proud usually looks right.
Common choices:
- Steel or aluminium edging — slim, neat, long-lasting and good for curves.
- Timber boards or sleepers — warm and inexpensive, but they will rot in time unless you use a durable timber.
- Brick, cobble or granite setts — robust and traditional, best bedded on a firm base with a mortar joint at the ends.
- Roll edging — cheap and quick, but it buckles easily and rarely lasts more than a few seasons.
Whichever you choose, get it in first. That way the membrane can be tucked under the lip of the edging and no pebble can slip sideways into the soil.
Step 4: Lay a woven weed membrane
Choose a woven geotextile rather than solid polythene sheeting, which traps water and tears along every crease, or flimsy fleece, which frays and clogs. A decent woven fabric lets water through, resists puncturing and holds its shape.
Roll it out across the width of the path rather than along it, so any overlap runs crossways. A lengthways joint catches raked pebbles and slowly opens up. Overlap neighbouring sheets by 100 to 150mm and hold them down with galvanised pins, or tuck the edges beneath the edging lip. Work on a still day, pull the fabric taut as you go, and smooth out wrinkles — hollows in the fabric become dips in the path.
If you are planting through the path, cut a neat cross with a sharp knife, fold the flaps back, plant, then tuck the fabric around the stem. Water new plants well through their first summer.
Step 5: Add the right depth of pebbles
Depth is what separates a path that feels solid from one that feels like walking on a beach. As a rule, 40 to 50mm suits smaller pebbles of around 10 to 14mm, while chunkier 20 to 40mm stones want 50 to 60mm. Below about 40mm the membrane starts to show through and the stones skate about underfoot.
Think about shape as well as colour. Angular stone, such as crushed slate or angular gravel, knits together and makes a firmer walking surface. Rounded pea shingle rolls under your boots, which is fine for a decorative strip but tiring on a route you use daily. For most garden paths, 14 to 20mm is the sweet spot.
Lay the pebbles in barrow-loads spaced along the path rather than tipping one heap at the end, then rake them level, keeping the surface just below the edging. Measure the area first — length multiplied by width — and order about ten per cent more than you need for settlement and future top-ups.
Keeping the path sharp with almost no work
No membrane stops weeds entirely, because seed and dust arrive on the wind and in the gaps between stones. The difference is that those weeds sit in a shallow layer with nothing to anchor them, so a young seedling lifts out between finger and thumb. Deal with them small and often, and you will never need to dig.
Rake the pebbles once or twice a year to keep them level, and clear fallen leaves in autumn before they break down into a silty layer that roots can grip. Top up the depth every couple of years. One warning worth repeating: never strim along the edge of a pebble path. The line shreds the membrane, and the shredded fibres end up mixed through the stones where you will never get them out. Use shears instead, or a brush. Where a weed has beaten you, cut it at ground level rather than levering it up with a fork — the fork is what punctures the fabric, and once the fabric is torn, the weeds have won.
Photo: GAIMARD / Pixabay