A gravel garden looks after itself better than almost any other style — once the groundwork is done. Get the surface, the layout and the planting right at the start and you will spend your weekends sitting in the garden rather than weeding it. The trick is to treat gravel as a proper surface rather than a cover-up, and to plant it as densely as you would any border.
Start with the space you actually have
Before you look at a single plant, spend an hour outside with a notebook. Note where the sun falls at midday and in late afternoon, where water sits after heavy rain, and the routes you take to the shed, the bins and the back gate. Gravel suits open, sunny, free-draining ground. It is less happy in deep shade or in hollows that stay damp, where the surface turns green and the plants sulk.
Slope matters too. On anything steeper than a gentle fall, loose gravel creeps downhill and ends up on the patio. If the ground is uneven, plan shallow steps, a bound gravel path or a level terrace instead.
Think about access as well. Loose gravel is hard work for a walking stick, a wheelchair or a pram. If that affects your household or your visitors, keep a firm route of paving or bound gravel through the space and let the loose material do the decorative work elsewhere.
Planning a layout that holds together
Calm gravel gardens follow one idea. Choose a shape and repeat it: a long curve, a series of overlapping circles, or clean rectangles if the house is modern. Two or three curves are plenty. An edge that changes direction every metre looks fussy and is fiddly to keep tidy.
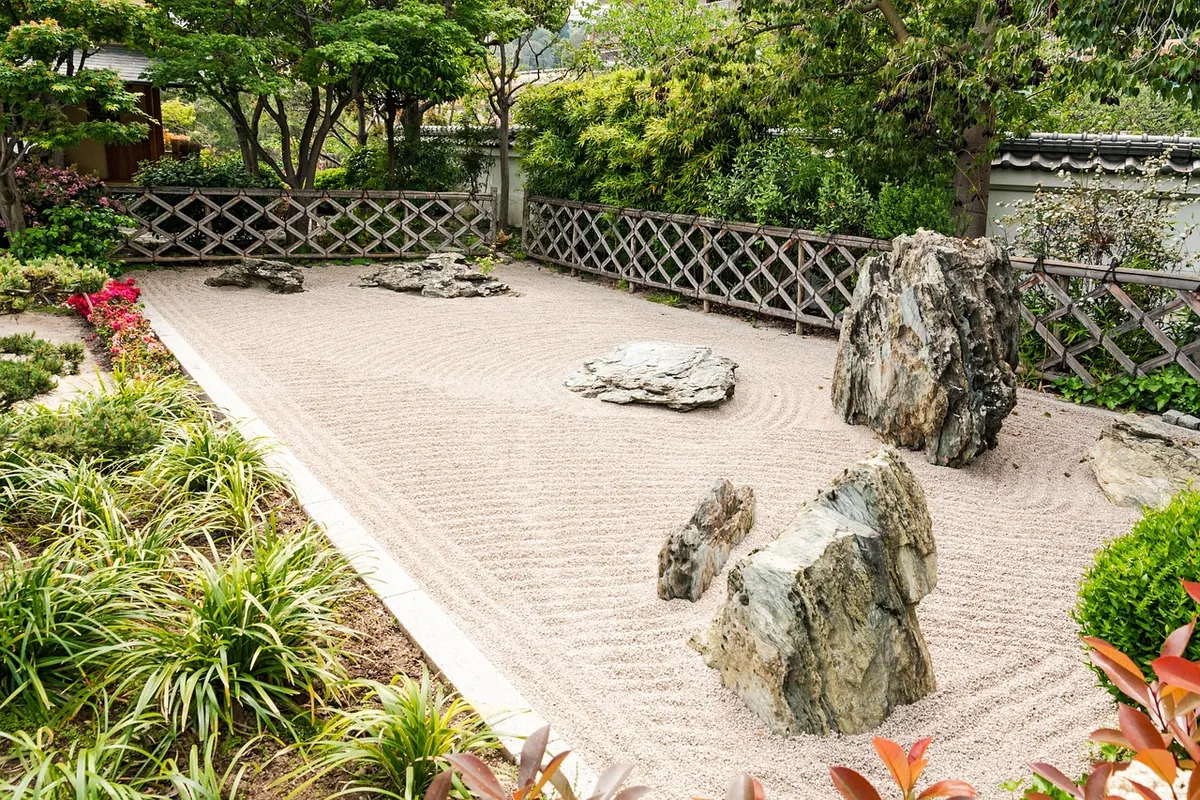
Treat gravel as water and planting as islands. Rather than one border round the edge with gravel in the middle, push generous beds out into the open ground. Roughly 60 per cent gravel to 40 per cent planting is comfortable to look at and still easy to manage.
A simple layout recipe
- Mark the main viewing points — kitchen window, back door, seating area.
- Lay out the route between them with string or a garden hose.
- Widen the route where you sit, stop or turn.
- Place two or three planting islands, each at least a metre across.
- Leave one larger open stretch of gravel so the eye has somewhere to rest.
Narrow islands look lost and give roots nowhere to go. Bigger beds hold a shrub plus a skirt of perennials, which is what makes the planting read as a garden rather than a scattering of pots.
Choosing gravel that stays put
Round pea shingle is cheap and comfortable underfoot, but the rounded stones roll and travel — into the lawn, across the paving, through the back door. Angular gravel of roughly 14–20mm knits together and stays where you put it. For a firm path, self-binding gravel compacts to a surface you can wheel a barrow over.
Colour sets the mood. Warm buff and golden gravels flatter Mediterranean planting and glow in sunshine; cool grey granite feels quieter and suits silver foliage. Take a sample home and hold it against the house wall and any existing paving in daylight before you order a bulk bag.
Fifty millimetres of gravel is enough over a weed-suppressing membrane; allow 75–100mm if you are planting through it without one. Deeper than that simply wastes money. Finish the edge with steel strip, a line of setts or a shallow trench so the stones stay in the beds and off the lawn.
One practical note: gravel is permeable, which is useful if you are replacing a front garden and want rainwater to drain away on site. Larger areas of non-permeable surfacing can need permission, so check with your local planning authority before you start.
Preparing the ground properly
This is the stage people skip, and then regret. Perennial weeds such as bindweed, ground elder and couch grass will push up through almost any depth of stone.
- Clear perennial weeds first. Repeated digging or smothering over a season is the reliable route.
- Fork the soil to a spade's depth and work in grit or compost if it is heavy clay.
- Firm and rake level. A wobbly base makes a wobbly gravel surface.
- Decide on membrane. A woven geotextile blocks most weeds but also stops desirable plants self-seeding. Plenty of gardeners prefer a thick gravel layer straight onto soil with dense planting instead.
- Plant before you spread, or cut clean holes through the membrane, fold the edges back and plant through.
- Spread the gravel, then water the new plants in well.
Plants that earn their place
Gravel plants cope with sun, wind and dry roots. They do not want rich soil or feeding — generous conditions make them floppy and short-lived. Think Mediterranean hillsides and steppe grassland, then plant in groups of three or five of the same variety and repeat those groups across the garden.
- Structure: lavender, rosemary, cistus, cotton lavender, Euphorbia characias.
- Grasses: Stipa tenuissima, pheasant's tail grass, blue fescue.
- Flowers: Salvia nemorosa, catmint, Verbena bonariensis, sea holly, yarrow, gaura.
- Bulbs: alliums, species tulips and small narcissi, planted in drifts through the gravel.
Leave gaps for self-seeders such as verbena and sea holly to wander into. That loose, drifting quality is what makes a gravel garden feel established rather than newly installed.
Keeping maintenance to minutes, not weekends
Weed little and often with a hand fork rather than a hoe, which can shred a membrane. Top up the gravel every couple of years where it has thinned along paths. Cut perennials back in late winter or early spring, leaving seedheads standing through the cold months for the birds and for structure. Water only in the first summer, and then deeply rather than little and often.
Keep a stiff broom or a leaf blower on its lowest setting for clearing leaves and stray stones off paving, and check the lawn edge once a month — that is where gravel escapes fastest. Do those small jobs when you notice them and the garden will need no more than an hour or two of attention in a good month.
Photo: CandyGuru / Pixabay