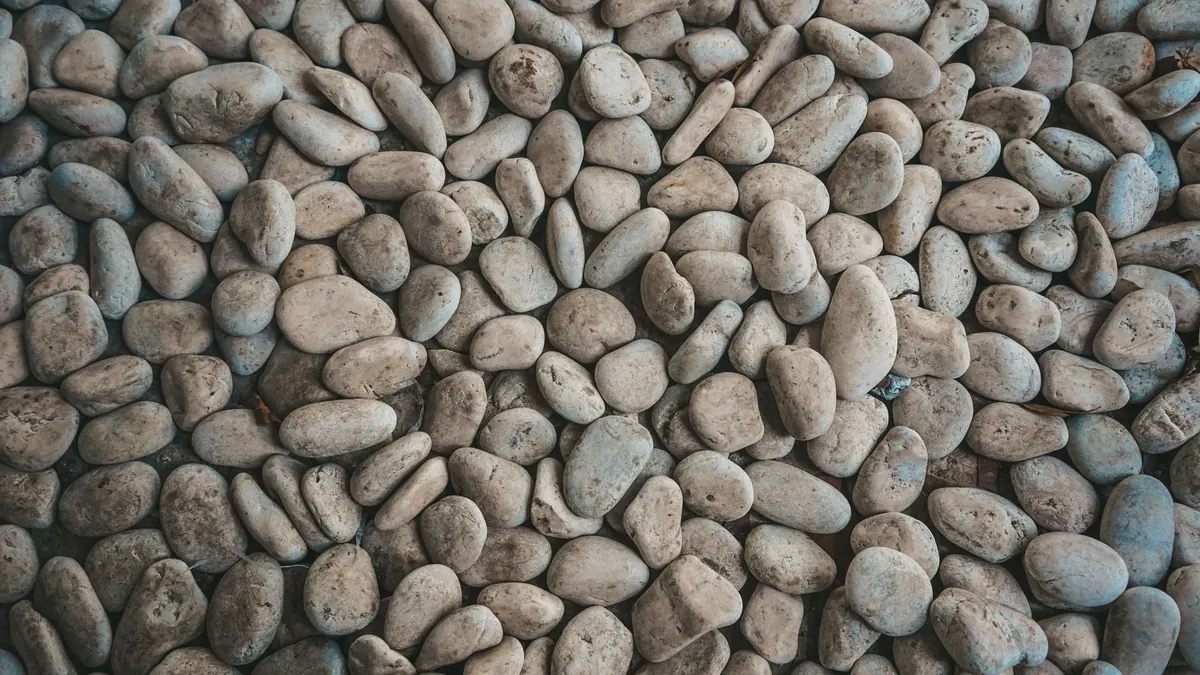
A well-built pebble path looks casual, almost as though someone scattered stones and walked away. Underneath, it is doing something fairly serious: managing water. Get the drainage right and your pebbles stay put, your patio stays firm, and you avoid the grey puddles that make a garden unwalkable from October to March. Get it wrong and no amount of raking will help.
How Pebble Surfaces Handle Rain
Water on pebbles behaves differently from water on paving. Paving sheds rain in sheets; pebbles interrupt it. A loose layer of rounded stones slows the flow, holds a little moisture in the gaps and lets the rest trickle down. In a wet climate that is genuinely useful — but only if there is somewhere for the water to go underneath.
The common mistake is to treat a pebble path as a purely decorative layer. It is part of a drainage system, and the layers below it decide whether that system works. Two things matter most: the slope of the finished surface, and what sits beneath it.
Start With a Sub-Base That Suits Your Soil
The sub-base is the compacted layer under your pebbles. It carries the load, holds the shape and gives water a route out.
On sandy or gravelly ground, water already drains reasonably well, so you can often build a genuinely permeable structure. On heavy clay — the reality for a great many UK gardens — rain has nowhere to go quickly, so you need either a fall that leads to a drain or a soakaway, or a design that stores water and releases it slowly.
For most garden paths and lightly used patios, the usual choices are:
- MOT Type 1 — a well-graded mix of stone and fines that compacts into a firm, almost concrete-like layer. Excellent stability, but not permeable.
- MOT Type 3, or clean angular stone at 20–40mm — open-graded, with the fines washed out. Water passes through readily. It is less firm underfoot than Type 1, so it depends on good edging.
- Sharp sand or grit — a thin blinding or levelling layer, not a structural sub-base.
As a rough guide, a footpath wants 75–100mm of compacted sub-base; a patio taking furniture, or a path a wheelbarrow crosses regularly, wants 100–150mm. Compact in two passes with a plate compactor rather than tipping it all in at once.
Getting the Falls Right
Falls are where most pebble projects go wrong, usually because the slope is too gentle or heads the wrong way.
Aim for a consistent fall away from buildings. As a rule of thumb, paving is laid at about 1:80, roughly 12mm per metre. Pebble surfaces can be a little steeper because the texture hides the slope: 1:50 to 1:60, about 17–20mm per metre, is comfortable to walk on and moves water reliably.
Three practical points:
- Keep the fall running in one direction. A surface that dips in the middle will hold a puddle no matter what its average slope is.
- Never let water run towards the house. A steady fall away from the wall, plus a gully or channel at the low point, is far safer than a flat patio.
- Check with a string line and spirit level before you compact, not after.
If your garden is genuinely flat, you may need a shallow channel drain or slot drain along the lowest edge, connected to a soakaway or existing drainage. If you are unsure where water can be discharged, or your garden sits below neighbouring ground, a short conversation with a drainage engineer before you dig is money well spent.
Permeable Layers, Fabric and the Route Out
A permeable build-up is not simply a case of leaving gaps. Water needs a continuous route from the surface down to free-draining ground or a soakaway.
Use a woven, permeable geotextile between the soil and your sub-base on clay or mixed ground. It stops fine soil particles migrating upwards into the stone and clogging it, while still letting water through. Do not use a solid plastic membrane beneath a permeable path — it does exactly the opposite of what you want.
Above the sub-base, a thin layer of grit or 6mm clean stone beds the pebbles and stops them sinking into the voids below. Then comes the pebble itself. Around 40–50mm depth is plenty for a path; go a little deeper on a patio where you want the surface to feel generous.
Laying pebbles over an existing solid patio changes the maths. You are no longer relying on infiltration, only on the fall and the drain. Keep the pebble layer shallow, set a timber or metal edge to hold it, and make sure any gully or channel is not buried under stone.
Soakaways work best in free-draining ground and need to sit well away from foundations and boundaries. Sizing depends on your soil and the area draining into it, so take proper advice rather than guessing.
Edging, Pebble Size and the Small Details
Loose stone migrates. It creeps into borders, onto lawns and across paving, and it travels faster on a slope. A firm edge — set kerbs, steel edging or treated timber bedded on concrete — keeps pebbles where you put them and holds the sub-base together.
Pebble size matters more than most people expect. Around 14–20mm is the sweet spot for walking: comfortable underfoot, stable enough for a wheelbarrow, and less likely to be kicked about than small gravel. Anything over 30mm is uncomfortable in thin shoes and noisy underfoot. Anything under 10mm wanders.
Five Mistakes to Avoid
- Laying pebbles straight onto soil. They sink, mix with mud and become a weedy mess within a season.
- Skipping the geotextile on clay. The sub-base silts up and quietly stops draining.
- Falling the wrong way. Water running towards the house is expensive to put right.
- Using rounded pea gravel as a structural layer. It rolls rather than interlocks.
- Ignoring maintenance. Clear fallen leaves, keep gullies and channel drains free, and top up the pebbles every few years.
A Sensible Order of Work
- Mark out the area, then watch where water already sits after heavy rain.
- Dig to depth: sub-base, bedding, pebble, plus a little extra for compaction.
- Lay geotextile if your ground is clay or mixed.
- Add and compact the sub-base in layers, checking falls as you go.
- Set your edging firmly before the final surface goes down.
- Spread the bedding layer, then the pebbles, and rake level.
- Hose the finished surface and watch where the water goes.
That last step takes five minutes and tells you more than any calculation. If water pools or heads somewhere you did not intend, you can still fix it while the pebbles are loose. Once the edging is in and the stone has settled, adjustments get a great deal harder.
Build the layers properly and the pebbles will look effortless for years — which is, after all, the whole point.
Photo: Labskiii / Pexels